Connect MemberKit
Enroll the buyer in your MemberKit classrooms when the sale is approved, and remove access on refund or cancellation.
With MemberKit connected, every approved sale creates or updates the student in MemberKit and enrolls them in the classrooms you pick for that offer. When the purchase is refunded, charged back, or the subscription is cancelled or expires, Vipter makes the student inactive.
Before you start
- A MemberKit account with access to its settings.
- The Admin or Owner role in the Vipter project.
- A product with at least one offer in Vipter, usually of the Course type.
- The classrooms already created in MemberKit.
Step 1: copy the API key in MemberKit
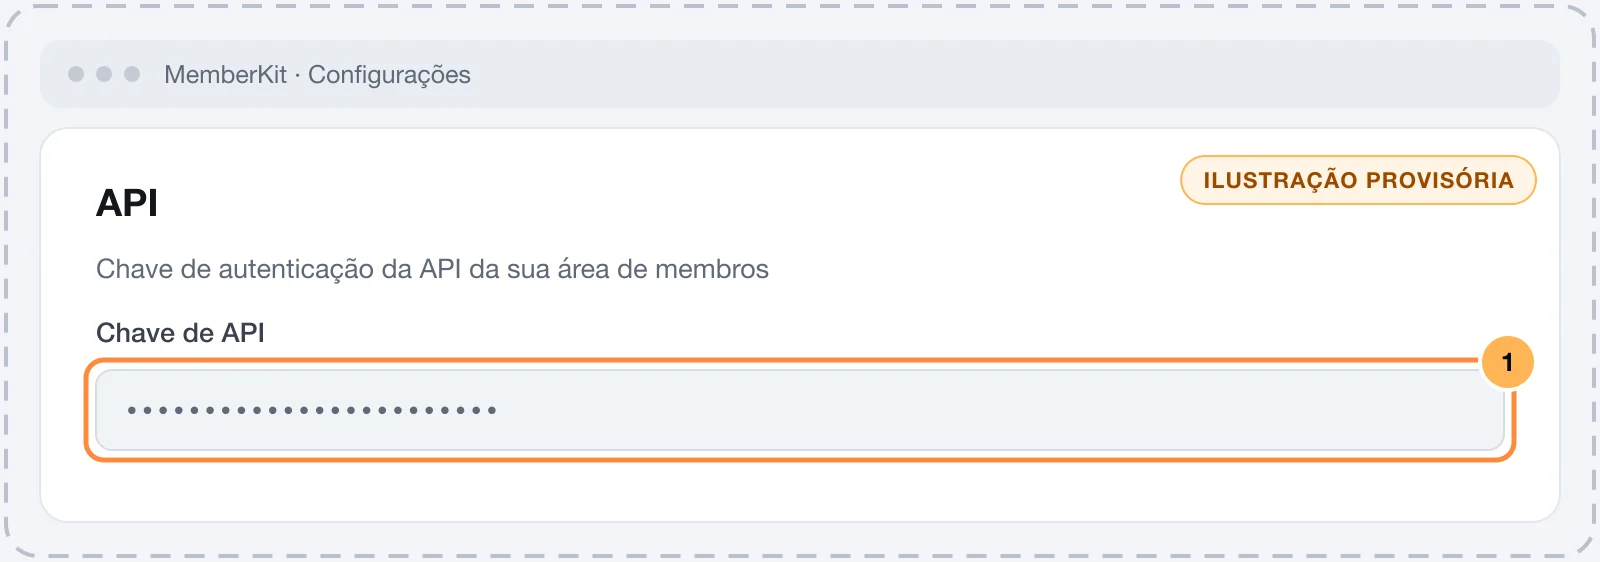
- In MemberKit, open ConfiguraçõesIntegraçõesAPI (Settings › Integrations › API).
- Copy the API key and keep it for step 2.
Keep the key safe
This key can create and change students in your MemberKit. Paste it only into Vipter. Once saved, it is not shown again: the field only shows its last characters.
Step 2: paste the key into Vipter
- In the Vipter dashboard, open GeneralIntegrationsMember areasMemberKit.
- Under Connection, fill in the field and leave Active — send access to this platform on.
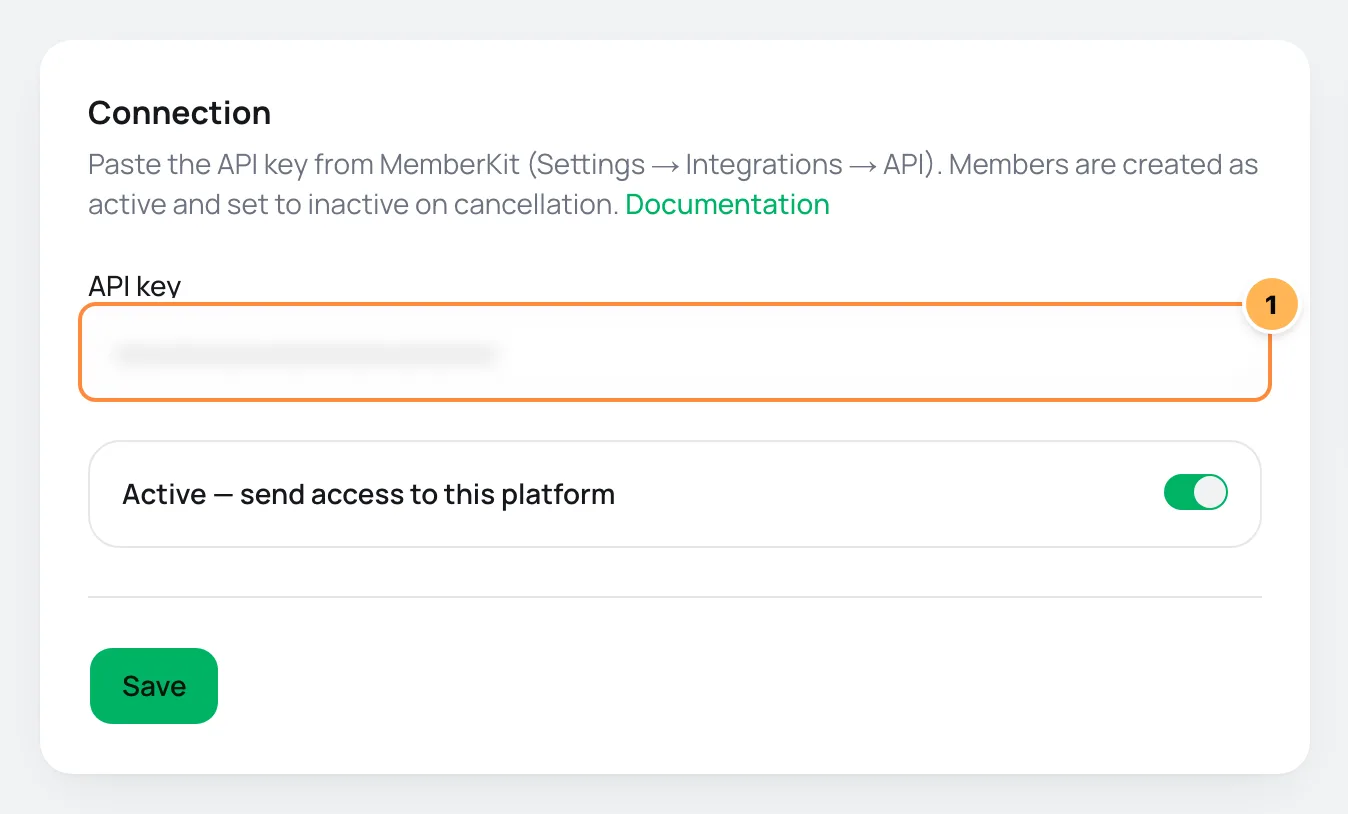
| # | Field | What to paste |
|---|---|---|
| 1 | API key | The API key you copied in step 1. |
- Click Save.
Step 3: link each offer to its classrooms
Vipter only enrolls students from offers that have a rule. Without a rule, nothing is sent to MemberKit.
-
Find each classroom's ID. The safest way is to open the address below in your browser, replacing
YOUR_KEYwith the key from step 1. MemberKit answers with the list of classrooms, and the number inidis each one's ID.https://memberkit.com.br/api/v1/classrooms?api_key=YOUR_KEY -
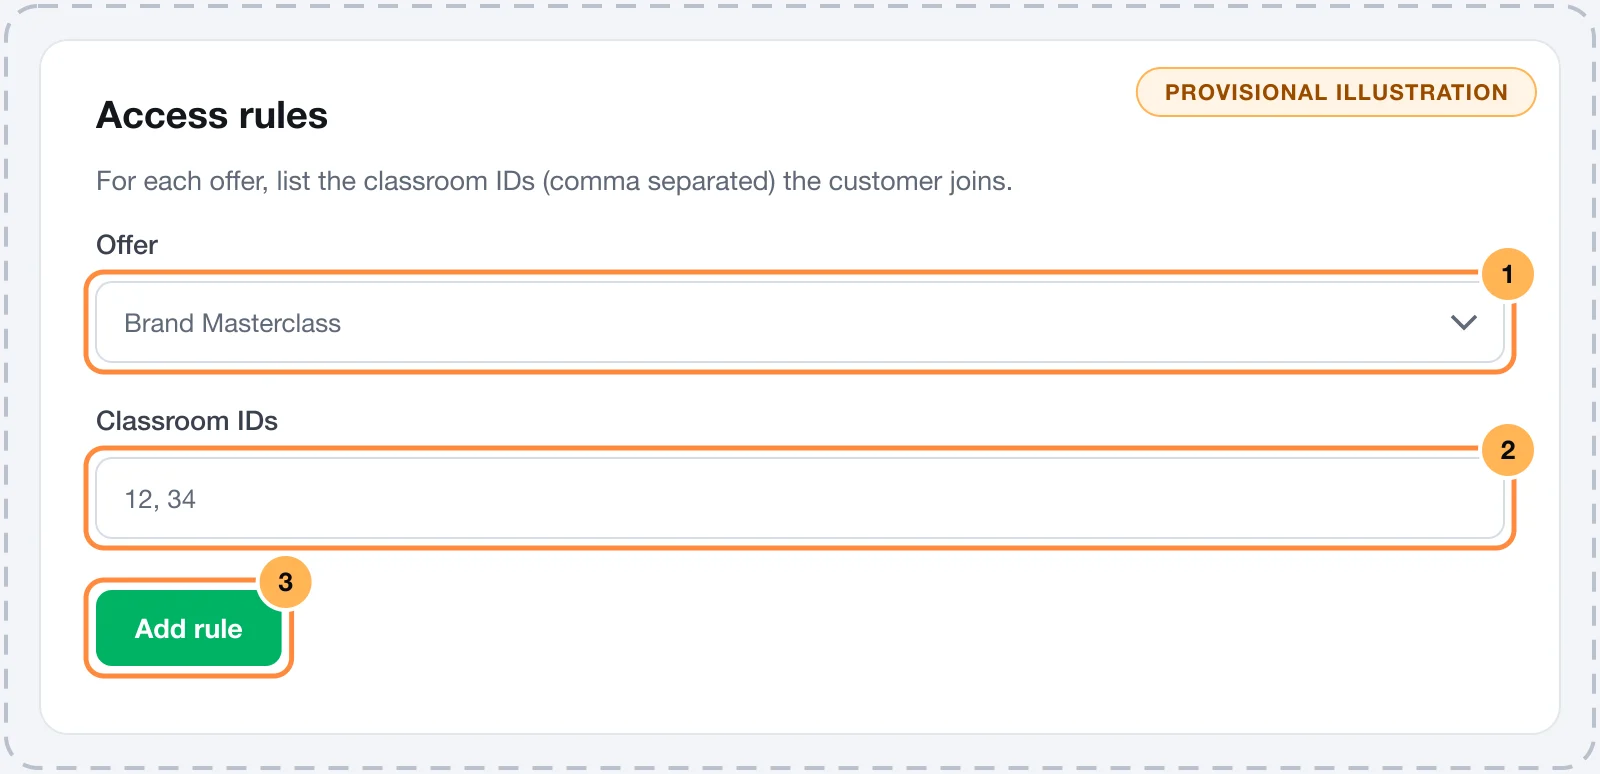
In Vipter, under Access rules, pick the Offer and enter the Classroom IDs separated by commas, such as
12, 34. -
Click Add rule. Repeat for every offer that grants access to the course.
Step 4: test
- Click Test connection. Vipter calls MemberKit with the saved key.
- Make a test purchase of an offer that has a rule.
It worked if
You see the message Connection OK., the purchase shows up under Recent deliveries as Access granted, and the student appears in the classroom inside MemberKit.
How it works afterwards
- Approved sale: the student is created or updated by e-mail, set active and enrolled in the rule's classrooms. The purchase's name, tax ID and phone go along when present.
- Refund, chargeback, subscription cancelled or expired: the student becomes inactive in MemberKit.
- Subscription renewal: nothing changes, the student stays active.
Common problems
-
The platform rejected the credentials
The key is wrong or was changed in MemberKit. Copy it again from the settings and save once more.
-
Save the credentials first, then link offers.
Rules can only be created after the key is saved. Do step 2 first.
-
The sale was approved but the student did not join the classroom
Check that the offer sold has a rule and that the classroom IDs exist in MemberKit. The reason for the failure shows under Recent deliveries.
What to do next
- If the course also has files to download, set up digital delivery on the product.
- To e-mail the student, connect an e-mail provider in GeneralIntegrations.