Cookie consent and domain verification
Decide whether the checkout pixels wait for the buyer's consent, and verify your domain with Meta, Pinterest and Google through a meta tag.
Two options in GeneralConversionsPreferences apply to the whole project: the cookie consent banner on the checkout and the domain verification meta tags. Both are in the same form and are saved together.
Before you start
- The Admin or Owner role in the Vipter project.
- For domain verification: a custom domain active on the checkout.
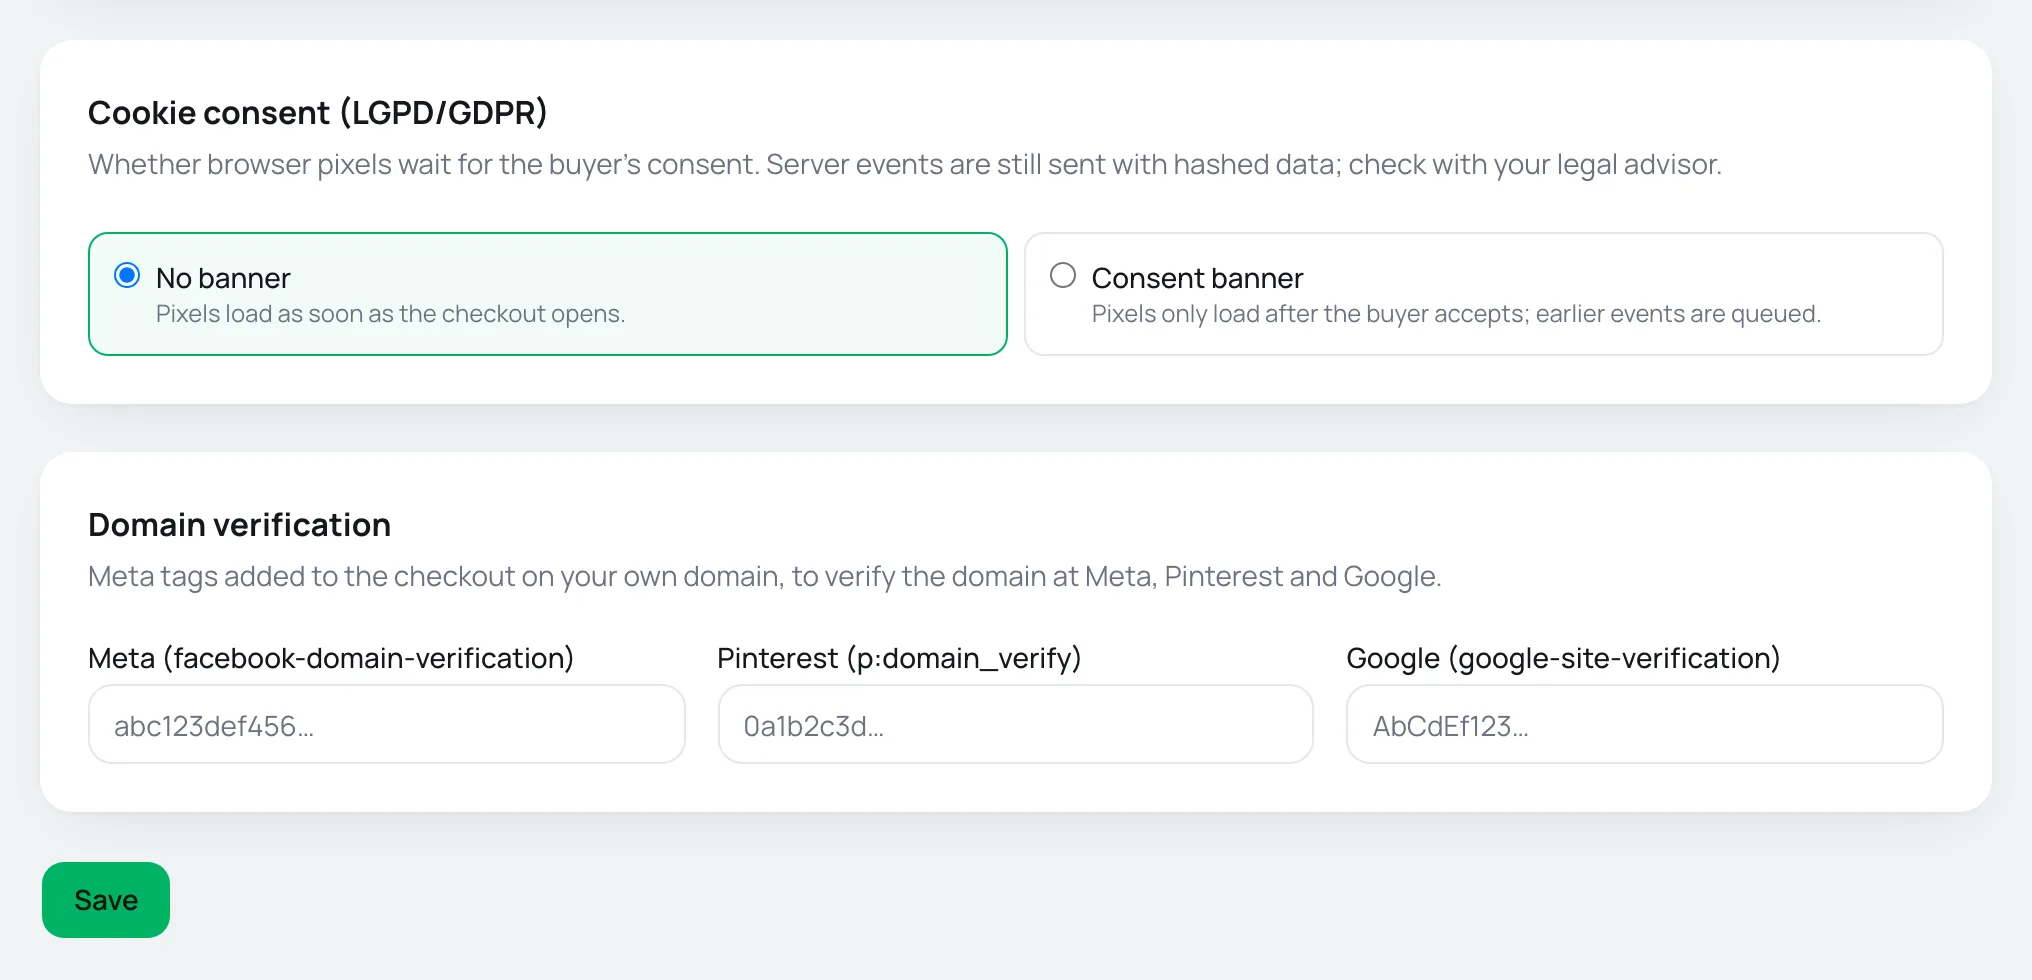
Cookie consent
Under Cookie consent (LGPD/GDPR), choose a mode and click Save.
No banner
No banner is the default. Pixels load as soon as the checkout opens. Browser events go out right away.
Consent banner
With Consent banner, the checkout and the thank-you page show a bar at the bottom with a short cookie notice and the Accept and Decline buttons, in the checkout's language.
- Before the choice: no pixel loads. Browser events wait in a queue.
- Accept: the pixels load and the queued events fire.
- Decline: the pixels don't load in that browser and the queued events are discarded.
- The choice is stored in the buyer's browser, on the checkout domain. The banner doesn't show again in that browser.
- The banner shows on every checkout in the project, even for products without a tracking account.
The banner doesn't change what goes out from the server. Accounts that send from the server keep reporting the lead, the PIX generated, the purchase and the other server events, with personal data hashed, and Vipter keeps recording the visit's source (UTMs and click identifiers) on the order.
Check with your legal team
Whether browser pixels wait for the buyer's consent. Server events are still sent with hashed data; check with your legal advisor. The banner covers the browser pixels. When the link carries fbclid, the checkout writes Meta's _fbc cookie when the page opens, before the choice. The UTM script runs on your sales page and follows that page's cookie banner, not Vipter's.
Domain verification
Meta, Pinterest and Google ask you to prove you own the domain before they unlock some features. One way is a meta tag on the page. Vipter adds the meta tag to the checkout.
- On the platform, choose meta tag verification and copy only the code inside it, the
contentvalue. In the tag<meta name="facebook-domain-verification" content="abc123def456" />, the code isabc123def456. - In Vipter, under Domain verification, paste the code into the platform's field:
- Meta (facebook-domain-verification)
- Pinterest (p:domain_verify)
- Google (google-site-verification)
- Click Save.
- Go back to the platform and request verification.
The codes only accept letters, numbers, _ and -, up to 200 characters. To remove a meta tag, clear the field and save.
The meta tag is on the checkout pages
The meta tag shows on each offer's address. The domain root, such as https://checkout.yourstore.com/, doesn't show a page. If the platform only accepts verification at the root, use DNS record (TXT) verification, done at your domain provider.
Common problems
-
Fix the highlighted fields.
A code has an invalid character, usually because the whole tag was pasted. The field shows Invalid format. Keep only the
contentvalue, without quotes or spaces. -
The platform can't find the meta tag
Check that you saved and that the platform is looking at an offer's address on your custom domain. If it looks at the domain root, use DNS verification.
-
The banner doesn't show
The buyer already chose in that browser. Test in a private window.
What to do next
UTM script and sales sources
Carry UTMs and click identifiers from your sales page to the checkout, and see in Sales sources where your paid sales came from.
Event activity and resending
See every event reported to the platforms, with each one's response, understand the automatic retries and resend what failed.