First sale checklist
The five steps of the dashboard's Getting started card, in order, with what completes each one and where its guide is.
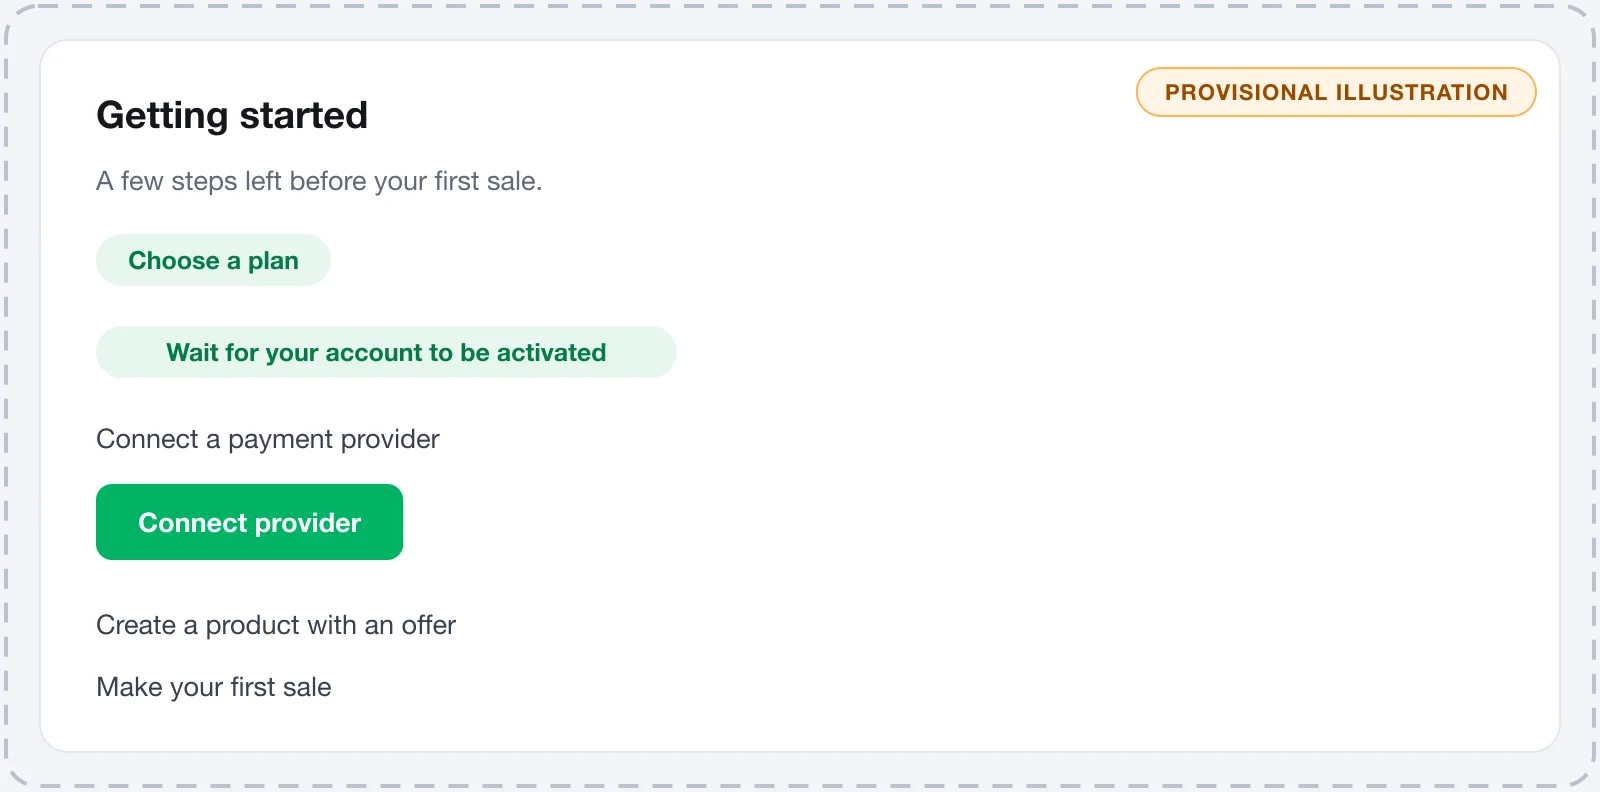
Until the store makes its first sale, the project's home page shows the Getting started card, with the N of 5 done count. Only the next step has a button. A step is crossed out on its own once what it asks for exists in the store: there is nothing to tick by hand.
Step 1: plan
Choose a plan. Your payment account is activated as soon as a plan is active. The Choose plan button opens the plans screen. Only the project owner chooses the plan.
- Done when: a plan is chosen for the project.
- Guide: Choose the plan and activate the account.
Step 2: account activation
Wait for your account to be activated. We set up your payment account in a few minutes. The See progress button shows each stage of the activation and, if something fails, the button to try again.
- Done when: activation finishes and the project leaves the Provisioning status.
- Guide: Follow the activation and if activation fails.
Step 3: payment provider
Connect a payment provider. The provider is the account that processes the charge and receives the money. The Connect provider button opens PaymentsProviders.
- Done when: the first connection exists, even in test mode.
- Guide: start with how payments work to choose the provider, then follow the step-by-step for Stripe, Pagar.me, Mercado Pago, Asaas or Paystack.
- Selling in Brazil? Also see PIX and installments.
Step 4: product and offer
Create a product with an offer. Every offer comes with a payment link to share. The Create product button opens the New product form.
- Done when: the store has at least one offer.
- Guide: choose the product type, create the product and create the offer.
Step 5: first sale
Make your first sale. Share an offer's link; orders show up here. The Open products button takes you to the product list, where you open the offer and copy the link.
- Done when: the first paid order comes in.
- Guide: test the store before promoting it and see how to use payment links.
It worked if
With all five steps crossed out, the card disappears from the home page and orders start showing in SalesTransactions.
After the first sale
- Put the checkout on your own address with a custom domain.
- Measure sales from your ads with conversion tracking.
- Invite the people who work with you in GeneralSettingsTeam.
Choose the plan and activate the account
Choose your Vipter plan, pay the first month and follow the activation of the store's payment account.
Path to selling courses and digital products
What to set up, and in what order, to sell a course or e-book on Vipter, with a member area, downloadable files, PIX and installments.