Choose the plan and activate the account
Choose your Vipter plan, pay the first month and follow the activation of the store's payment account.
After you create the project, the store needs a plan to work. Once the plan is paid, Vipter sets up the store's payment account on its own: this is activation. Until it finishes, you can browse the dashboard, but you can't add products or sell.
Before you start
- A project already created.
- Being the project's Owner. Only the owner chooses and pays for the plan.
- A credit card. The monthly fee and the orders above the quota are charged to it.
How the plan is charged
The plan is a monthly fee in Brazilian reais with a quota of approved orders per month. Past the quota, each extra order has a fixed price. There is no trial period: the first month is charged on the day you sign up.
The plan belongs to your account, not to a store. It covers all of your stores, and the quota adds up the approved orders of all of them.
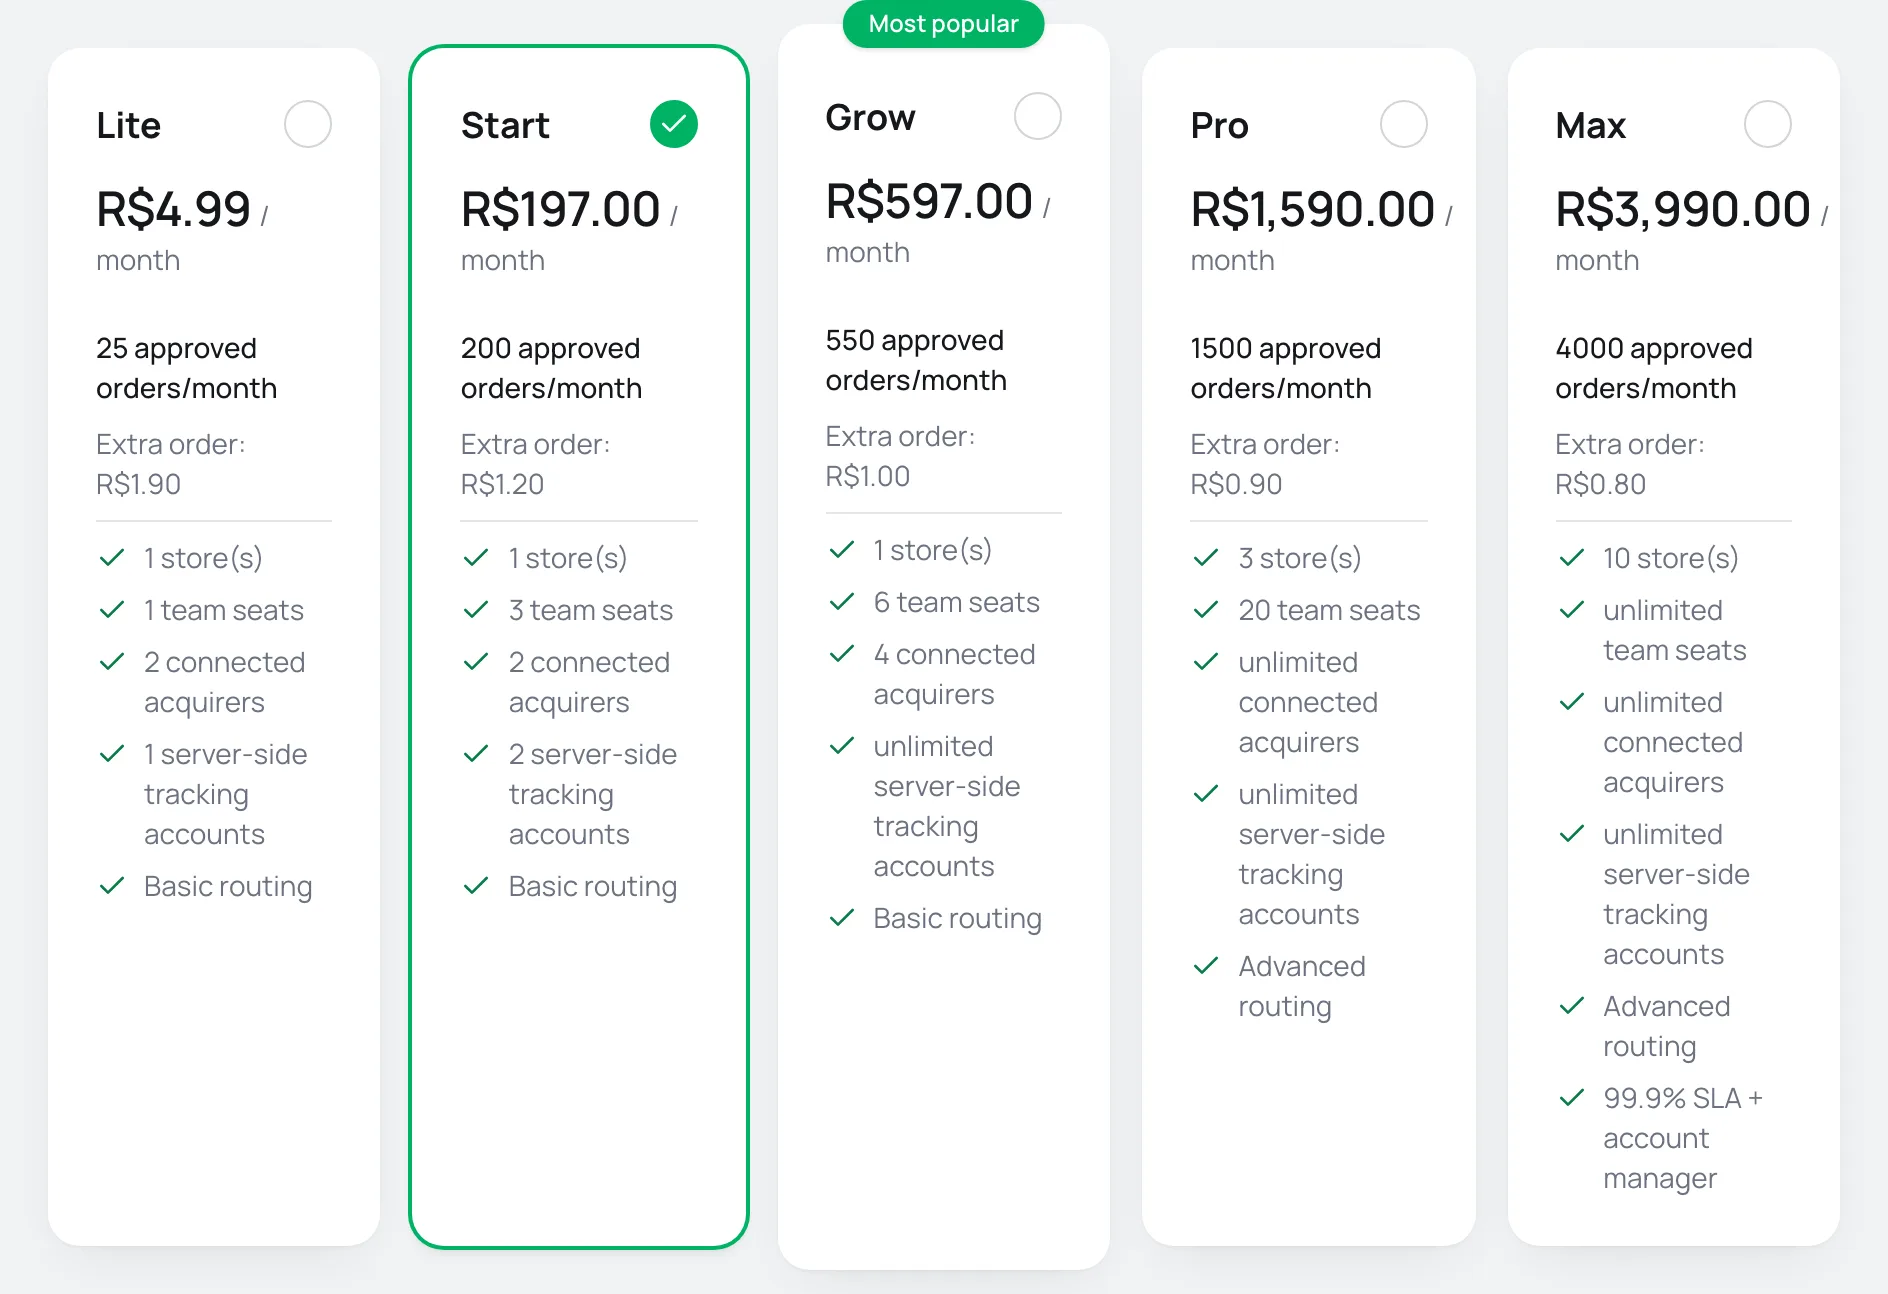
| Plan | Monthly fee | Approved orders per month | Extra order | Stores | Team members | Connected providers per store |
|---|---|---|---|---|---|---|
| Lite | R$ 4.99 | 25 | R$ 1.90 | 1 | 1 | 2 |
| Start | R$ 197.00 | 200 | R$ 1.20 | 1 | 3 | 2 |
| Grow | R$ 597.00 | 550 | R$ 1.00 | 1 | 6 | 4 |
| Pro | R$ 1,590.00 | 1,500 | R$ 0.90 | 3 | 20 | unlimited |
| Max | R$ 3,990.00 | 4,000 | R$ 0.80 | 10 | unlimited | unlimited |
Prices as of September 2026. The plans screen always shows the current ones, along with each plan's tracking and routing limits and SLA.
What counts as an approved order: a one-time sale, the first charge of a subscription, each renewal, each purchase accepted in a one-click upsell and each extra charge. The order bump doesn't count separately, because it goes into the same order. Refunds and chargebacks don't give quota back.
Overage: orders above the quota are charged to the card every 50 orders. Whatever is left over is charged when the cycle closes.
Step 1: choose the plan
- In the store's dashboard, click Choose a plan in the top banner or in the Getting started card.
- On the Choose a plan for your store screen, click the plan's card. The What separates the plans table, right below, compares the plans side by side.
- Click Continue to payment.
Step 2: pay the first month
Vipter opens the secure checkout with the chosen plan and your details. Pay with your card. As soon as the payment is approved, you are taken back to the activation screen on your own.
Step 3: follow the activation
The Setting up your store screen shows each stage with a done mark. It usually takes a few seconds. When the last stage, Activate project, finishes, the store's dashboard opens on its own.
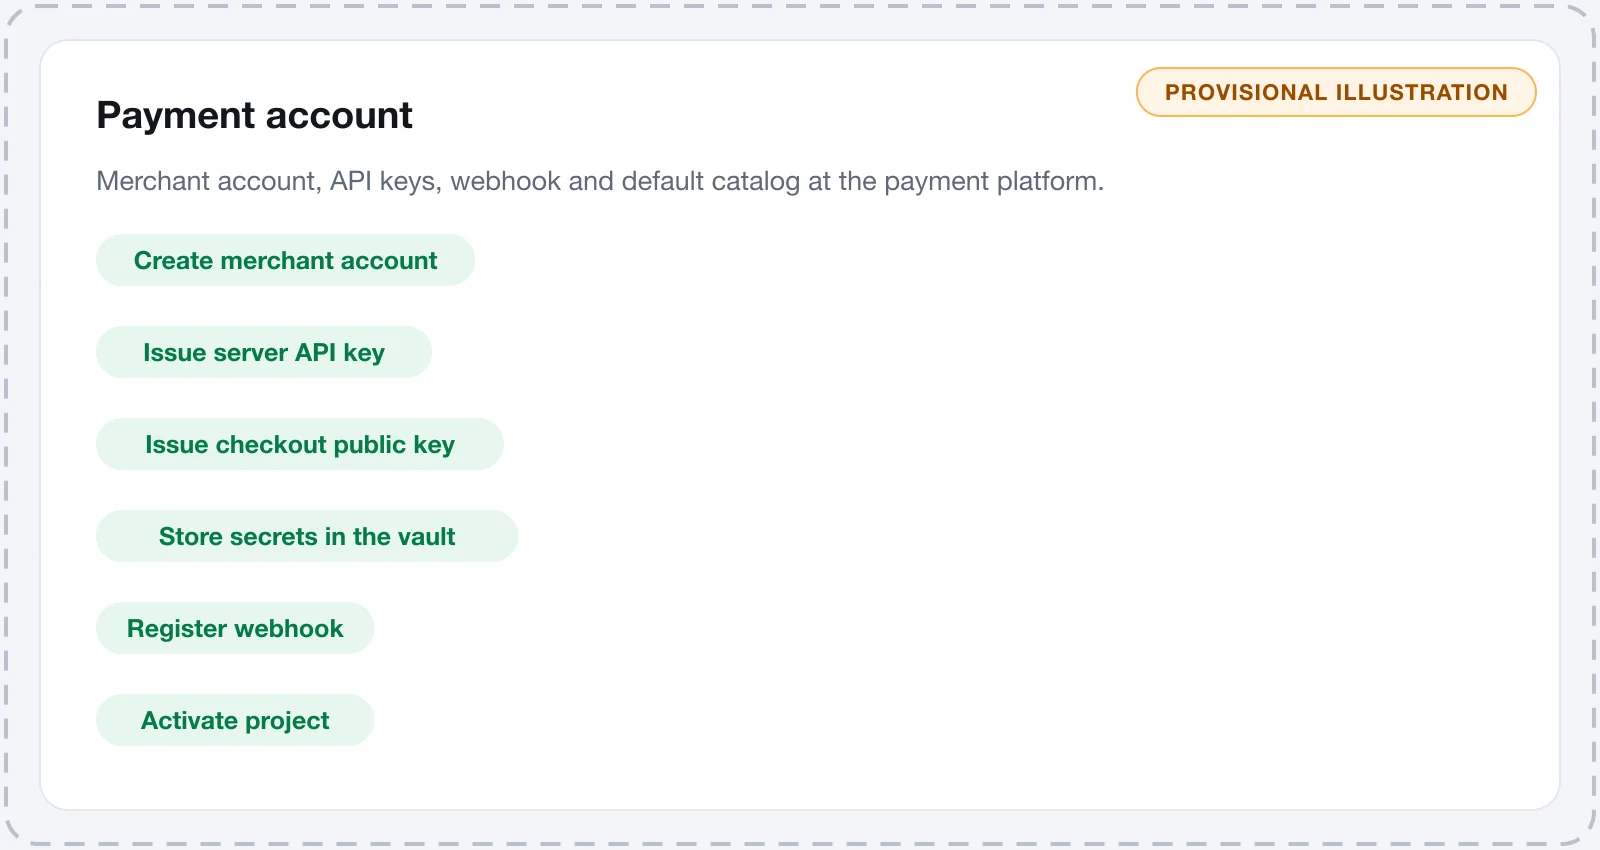
If you close the screen, activation keeps going. To get back to it, use the See progress button in the Getting started card.
It worked if
The top banner disappears and, in the Getting started card, the Choose a plan and Wait for your account to be activated steps appear crossed out.
If activation fails
The screen shows Provisioning failed (attempt N of 8). and the Retry button.
- Click Retry to try again right away. Each stage resumes where it stopped, without duplicating anything.
- If you do nothing, Vipter tries again on its own every few minutes.
- After 8 attempts, the screen shows Automatic retries are exhausted. Our team has been notified. and the project gets the Provisioning failed status. In that case, contact Vipter support.
Project statuses
The banner at the top of the dashboard shows the store's status when it isn't Active:
- Provisioning: activation hasn't finished yet or the plan wasn't paid. Products and sales are blocked.
- Provisioning failed: activation ran out of attempts. See the previous section.
- Past due: there is a payment problem with the plan. The store keeps selling, but creating new items is paused until it is settled. If the overage charges keep being declined, the banner shows Selling is paused: an overage charge is open. Update the card to sell again. and the checkout stops accepting sales. To change the card on file, contact support.
- Suspended: the plan was canceled or expired. The dashboard becomes read-only and the payment links stop working.
Change or cancel the plan
Open Vipter plan in the menu under your photo, at the top of the screen. The page shows the plan, the quota used in the cycle and the charge history.
- Change plan: the difference goes on the next invoice. A smaller plan is only accepted if your stores and your team fit in it.
- Cancel subscription: the cancellation takes effect at the end of the period already paid. After that, the stores become read-only.
Common problems
-
I left the payment without paying and the banner no longer shows the plan link
Open Vipter plan and click Choose a plan to get back to choosing the plan.
-
I created a second store and it is in activation
If the account already has a plan, the second store uses the same plan and activation starts on its own within a few minutes. You don't need to pay again.
-
What you use of stores does not fit this plan. Reduce it before changing.
You use more stores or more team members than the chosen plan allows. Reduce them before switching.
What to do next
- Follow the list to your first sale: connect a provider, create a product and test the store.