Branding: logo, colors, titles and social preview
Put your store's logo, favicon and colors on the checkout, the thank-you page, the customer area and the e-mails, and set the preview that shows when the link is shared.
Buyers see your brand on every payment page: the logo at the top, your colors on the buttons and the favicon in the browser tab. When someone shares the payment link on WhatsApp or a social network, the preview shows the image and description you choose.
Before you start
- The Admin or Owner role in the Vipter project.
- The store's logo, ideally as PNG, SVG or WebP with a transparent background.
- Optional: a square icon for the favicon and a 1200×630 px image for the social preview.
Step 1: open the settings
Open GeneralSettingsGeneral. Branding lives in two cards: Brand & checkout and Social sharing.
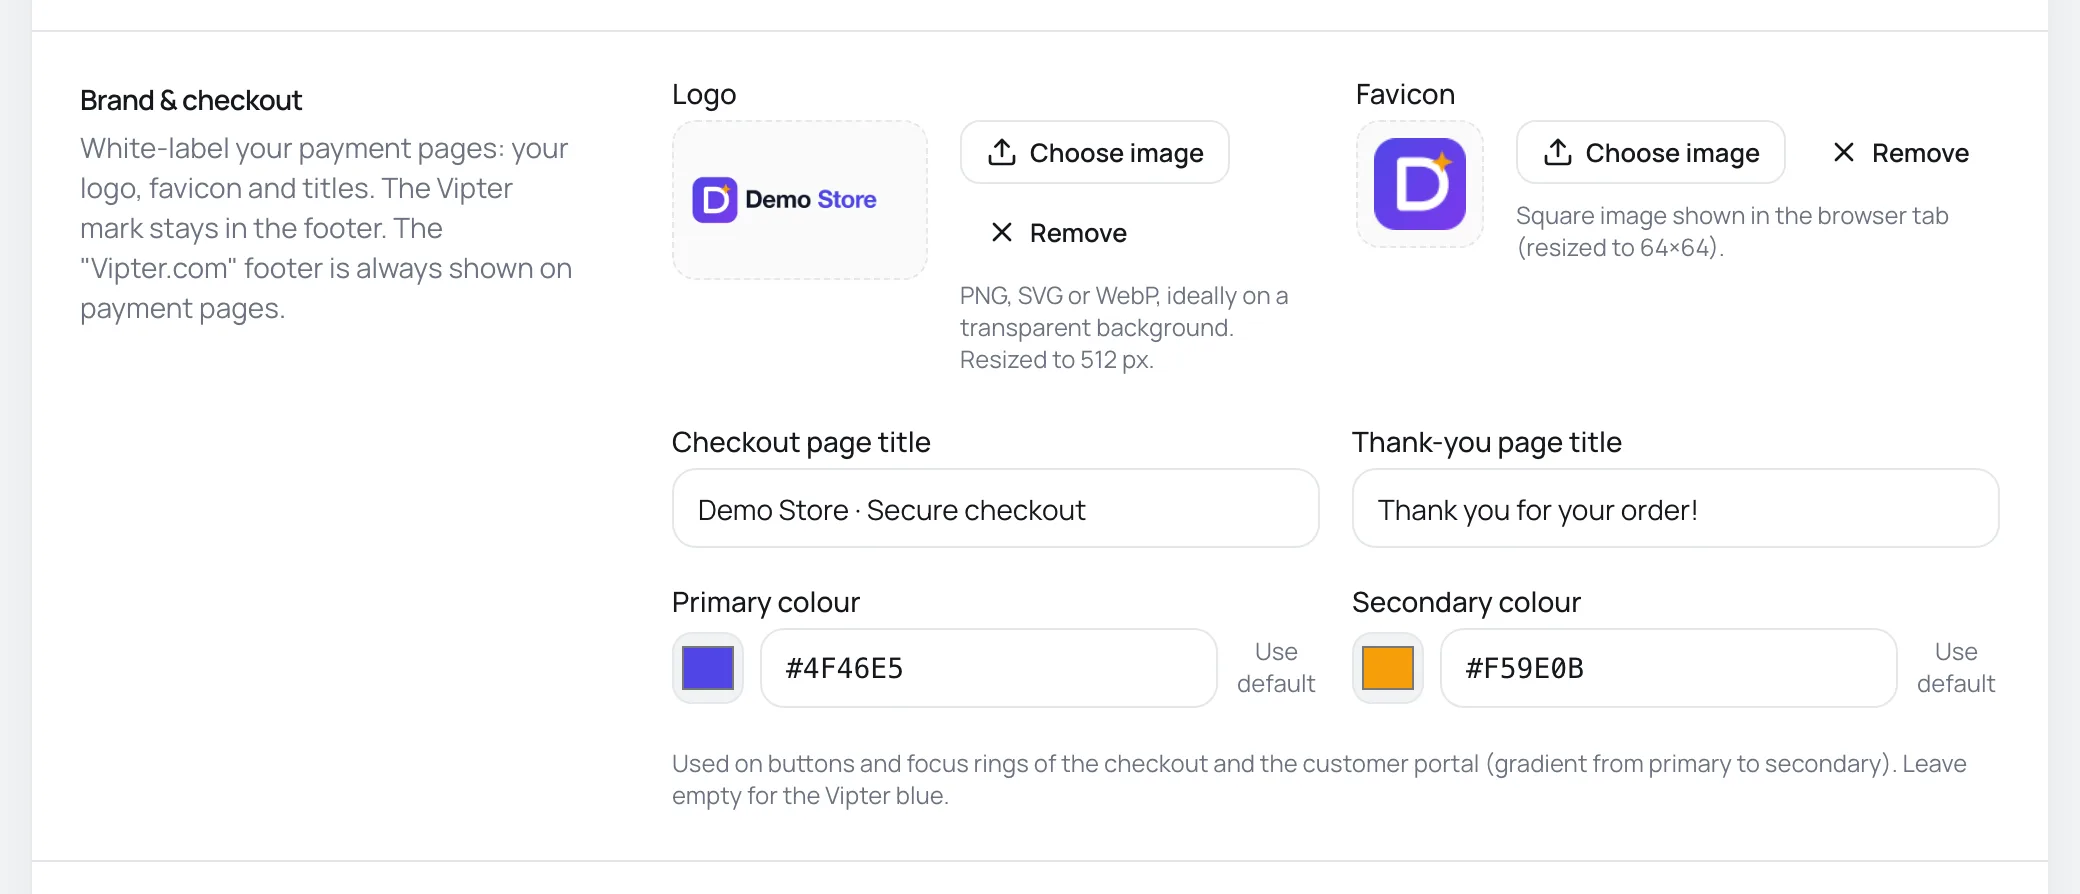
Step 2: upload the logo and the favicon
Click Choose image on each field, or drag the image onto the preview area. To remove an image, click Remove.
| Field | Where it shows | What Vipter does with the image |
|---|---|---|
| Logo | Top of the checkout, the customer area and the e-mails | Scales it down to fit 512×512 px, without cropping, and saves it as PNG, keeping transparency. |
| Favicon | Browser tab on the checkout, the thank-you page and the customer area | Fits it to 64×64 px without cropping and saves it as PNG. |
Each image can be up to 5 MB. The logo and the favicon accept PNG, JPG, WebP and SVG. An SVG becomes PNG when saved.
With a logo, the top of the checkout shows only the logo. Without a logo, it shows the store name and the secure checkout notice. Without a favicon, the tab shows the Vipter icon.
Step 3: set the page titles
- Checkout page title: the browser tab text on the checkout and the preview title when the link is shared. If empty, Vipter uses the offer name followed by the store name.
- Thank-you page title: the large title on the thank-you page after the payment is confirmed, and also the tab text. If empty, the page shows the default payment-confirmed message, in the buyer's language.
Each title accepts up to 80 characters. The titles you write are not translated: they show the same in every checkout language.
Step 4: choose the colors
- Primary colour: the color of the buttons and of the border of focused fields.
- Secondary colour: the end of the button gradient, which goes from the primary to the secondary.
Pick the color in the swatch or type the hex code, such as #4F46E5. With the primary filled in and the secondary empty, Vipter uses a darker version of the primary. With both empty, Vipter's blue applies. Use default clears the field.
The button text turns white or dark by itself, depending on the color, so it stays readable. The colors apply on the checkout, the thank-you page, the post-purchase offers and the customer area. In e-mails, the primary color shows on the buttons.
Step 5: build the social preview
In the Social sharing card:
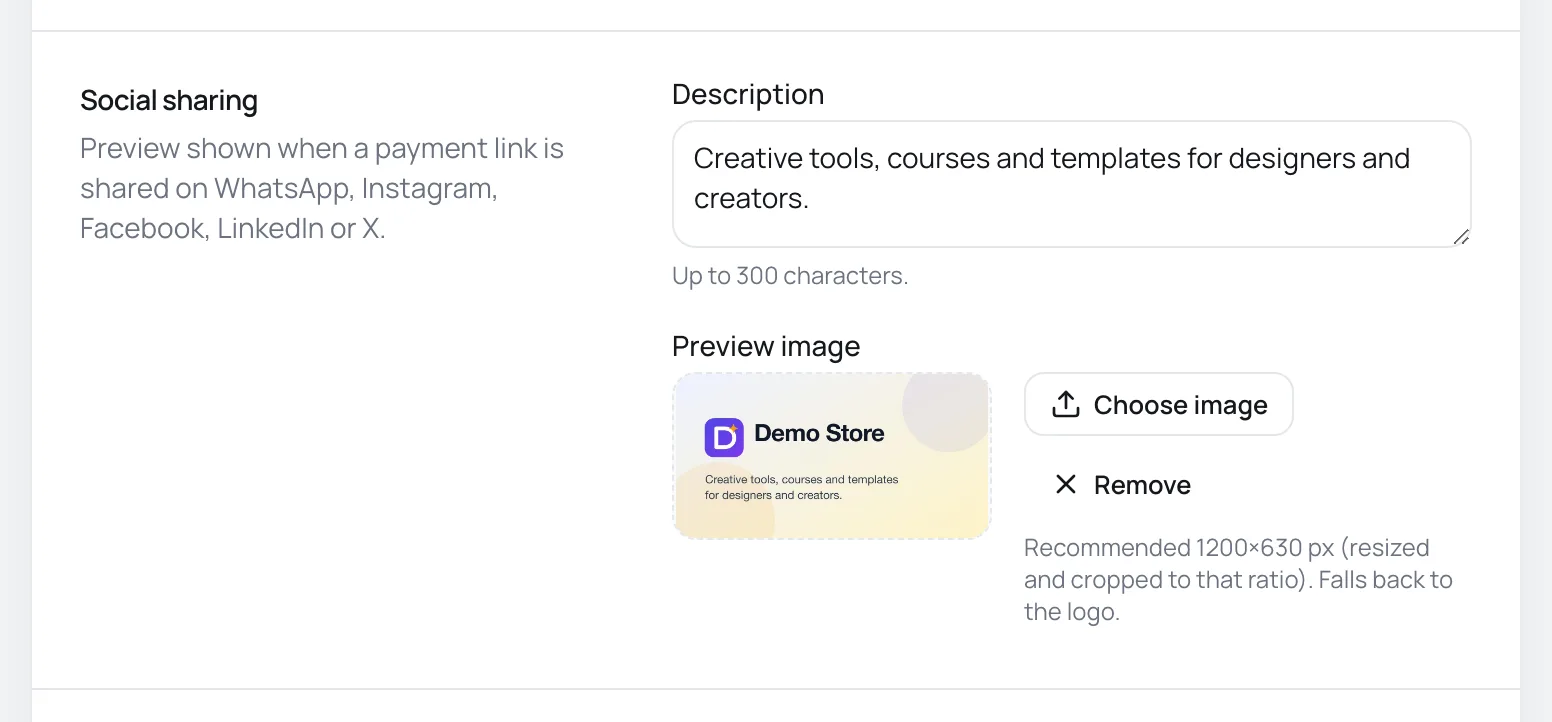
- Description: the text that shows below the title in the preview, up to 300 characters. If empty, the preview uses the offer's description, when it has one.
- Preview image: the large preview image. Vipter crops and resizes it to 1200×630 px and saves it as JPG, with a white background in place of transparency. Without an image, the preview uses the logo.
The description and the image apply to the links of all the store's offers and to the thank-you page. The customer area only uses the image. Payment pages and the customer area don't show up in search engines.
Step 6: save and check
- Click Save changes in the bar at the bottom of the page. Images are only uploaded when you save.
- Open an offer's link and check the logo, the colors and the tab title.
- To check the preview, paste the link into a WhatsApp chat with yourself. Apps and social networks keep the preview of an already shared link for a while. If you changed the image and the old preview still shows, it is the copy the app stored, and it updates later.
The Vipter footer
The footer with "Vipter.com" always shows on the checkout and the thank-you page. It can't be removed or changed. The rest of the page, including the address, can be all your store's with a custom domain.
Common problems
-
The image is too large (max 5 MB).
The image is over 5 MB. Reduce its size or export it as WebP and upload it again.
-
The logo looks small or has extra margins
Vipter doesn't crop the logo, so empty space around the artwork shows too. Crop the image tight to the design before uploading.
-
The color didn't change on the checkout
The code needs 6 hex digits after the
#, such as#0A7D3B. Check the field and save again.
What to do next
- Use your domain in payment links.
- See what the buyer finds on the thank-you page.
- Brand your e-mails in E-mails to buyers.
Checkout languages and currencies
Which language buyers see the checkout, the thank-you page and the customer area in, when the language selector disappears and which currency the checkout opens in.
Where you sell and ship
Choose the countries the checkout accepts, the country that shows first, where the store ships, how the address is requested and what the store address is for.