Connect Curseduca
Add the buyer to Curseduca access groups (classes) when the sale is approved and remove access on refund, chargeback or cancellation, without deleting the student.
With Curseduca connected, every approved sale adds the buyer to the access groups (classes) you chose for that offer. First-time buyers get the Curseduca sign-up e-mail to create their password. When the purchase is refunded, charged back, or the subscription is cancelled or expires, the student leaves these groups and stays registered, with their progress saved.
Before you start, read how member areas work.
Before you start
- A school in Curseduca with the access groups (classes) already created.
- The API Key and the access token of the Curseduca API.
- The Admin or Owner role in the Vipter project.
- A product with at least one offer in Vipter.
Step 1: get the credentials and the group IDs
The integration uses two Curseduca API credentials: the API Key and the access token. Look for both in the integrations or API area of your dashboard. If you can't find them, ask Curseduca support for the API Key and the API access token of your school.
Also write down the numeric ID of each access group the offers will grant. If the dashboard does not show the ID, ask support for it along with the credentials.
Keep the credentials safe
The two credentials together can create students and change access in your school. Paste them only into Vipter. Once saved, the fields only show their last characters.
Step 2: connect in Vipter
- In the Vipter dashboard, open GeneralIntegrationsMember areasCurseduca.
- Under Connection, fill in the fields and leave Active — send access to this platform on.
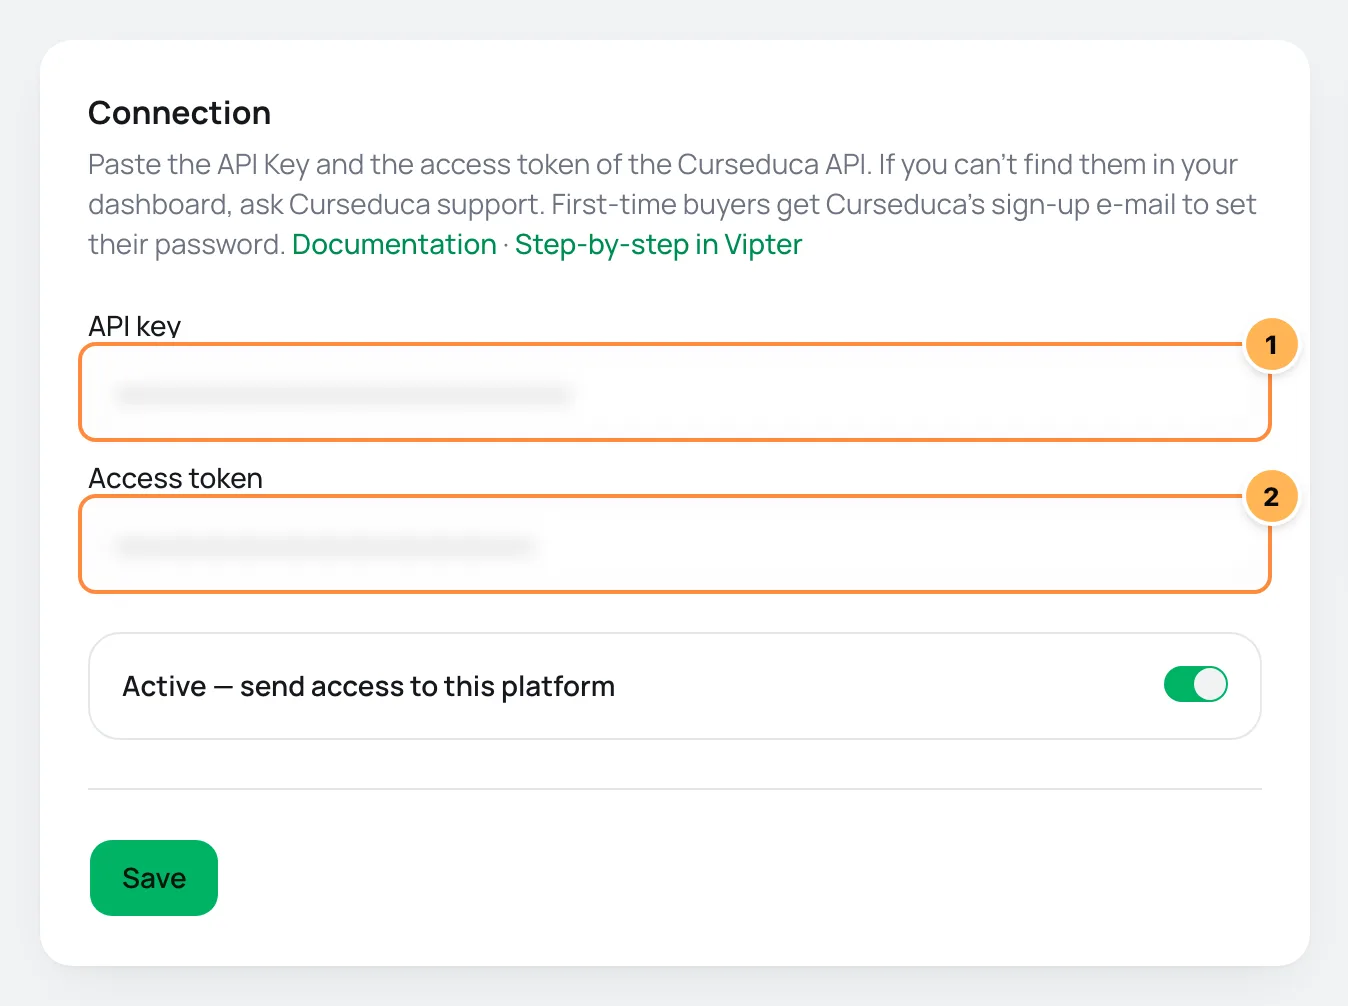
| # | Field | What to paste |
|---|---|---|
| 1 | API key | The Curseduca API Key. |
| 2 | Access token | The access token of the Curseduca API. |
- Click Save and then Test connection. Vipter fetches the school's groups with the two credentials.
Step 3: link each offer to its groups
Vipter only grants access from offers that have a rule. Without a rule, nothing is sent to Curseduca.
- Under Access rules, pick the Offer.
- Enter the Access group (class) IDs separated by commas, such as
12, 34. - Click Add rule. Repeat for every offer that grants access.
Step 4: test with a purchase
Make a test purchase of an offer that has a rule, with an e-mail you can open.
Check the first purchase carefully
The Curseduca integration is new and has not yet been checked in a real school. After the first test purchase, check in Curseduca that the student joined the right groups and that the sign-up e-mail arrived, before you promote the offer.
It worked if
The purchase shows up under Recent deliveries as Access granted, with the status succeeded, and the student appears in the groups inside Curseduca.
How it works afterwards
- Approved sale: Vipter looks up the student by e-mail. A new student is created already inside all the rule's groups and gets the Curseduca sign-up e-mail. An existing student joins the groups they are not in yet.
- Inactive student: a student who was inactive in Curseduca is reactivated before joining the groups. A blocked student stays blocked: that decision is yours.
- Refund, chargeback, subscription cancelled or expired: the student leaves the rule's groups. Their registration and progress stay in Curseduca.
- Data sent: name, e-mail, CPF or CNPJ (Brazilian individual or company taxpayer ID) and, for Brazilian numbers, the mobile number.
Retries and resend
If Curseduca does not answer or returns a temporary error, Vipter tries again on its own after 5 minutes, 30 minutes, 2 hours, 6 hours and 24 hours. A permanent rejection, such as wrong credentials, a group that does not exist or an ID that is not a number, is not retried. After you fix it, use Resend on the delivery's row. See retries and resend.
Common problems
-
The platform rejected the credentials
One of the credentials is wrong or no longer valid. Copy both again. To change just one, fill in that field and leave the other blank.
-
The delivery failed with "group ids must be numbers"
The rule has something that is not a numeric ID, such as the class name. Remove the rule and create another one with the IDs. Then grant this buyer access directly in Curseduca: the resend repeats the old rule.
-
The delivery failed on "group 12" with 404
Group 12 does not exist in the school. Check the IDs with Curseduca.
What to do next
- Understand how member areas work.
- To e-mail the student, connect an e-mail provider.