The setup guide
How the guide that takes the store from activation to the first real sale works, where it shows, how to hide it, the check on each link, the free questions to Vipter Agent and the setup e-mails.
After activation, Vipter walks you to the first real sale with the setup guide. There are six steps, from the payment provider to the first sale. Each step is done on its own once what it asks for exists in the store: there is nothing to tick by hand.
Your answers in the Your business stage shape the guide: the type of the first product comes already chosen and the recommendations follow your business model. See Create your first project.
Where the guide shows
- On the store's home page: the Get your store ready to sell card, with the N of 6 count and the time still left. Only the next step has a button.
- In the top bar: the Setup N/6 button shows on every page of the store. It opens the guide in a side panel, without leaving the page you are on.
- On the next step's screen: a banner shows Step N of 6 · …, with the Back to the guide link.
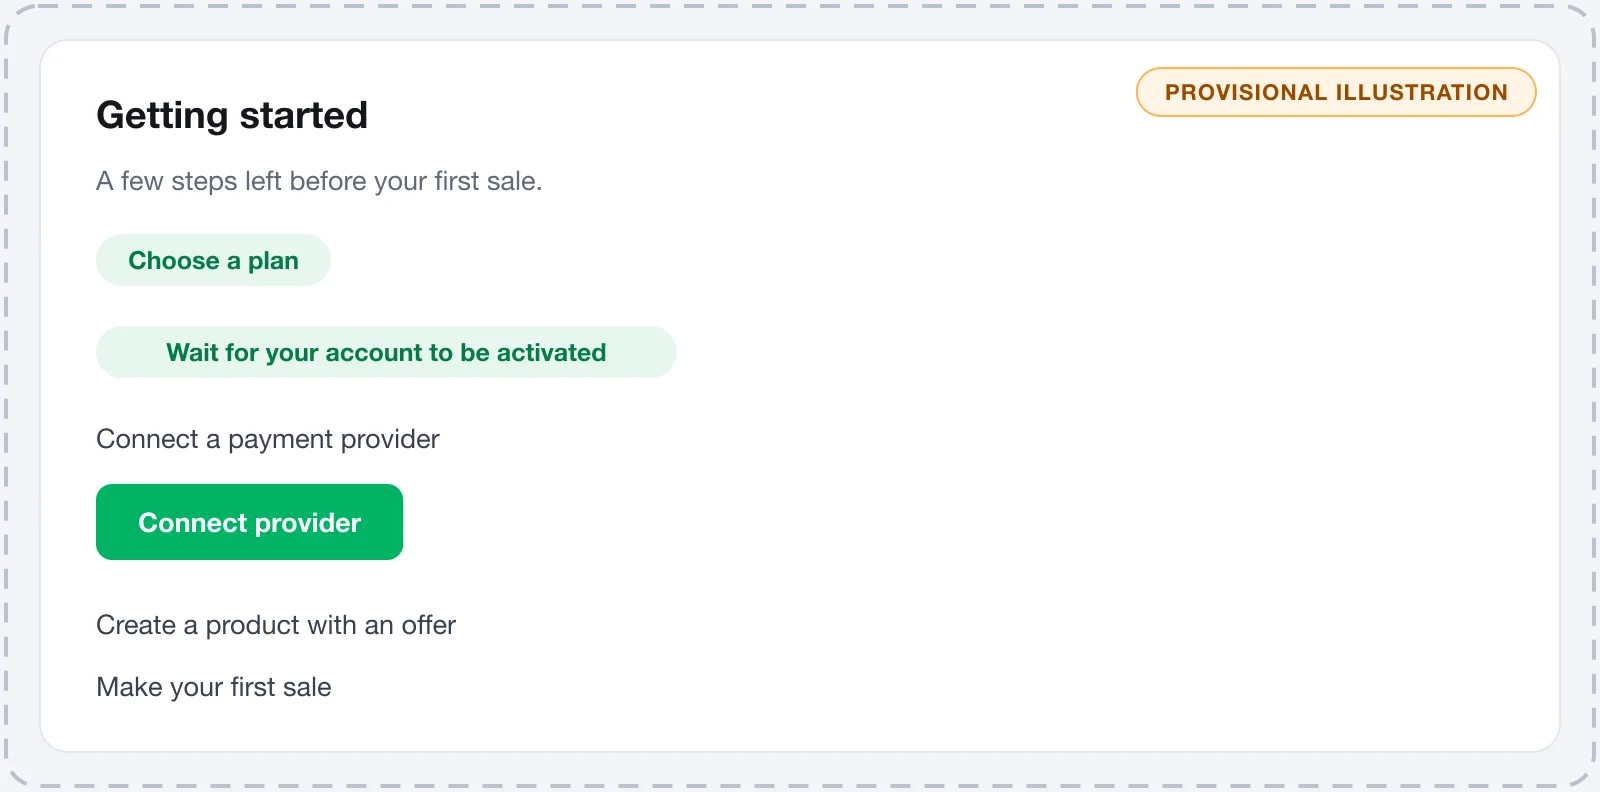
When a step is done, a notice confirms it and shows the next one. When only the first sale is left, the notice is Your store is ready to sell. Share your link!
Only the Owner and the Admin see the guide. People with the Sales role see the Your first day card instead, with four things salespeople do in the dashboard: Find an order, Open a customer, Create a quick link and See your commissions.
The six steps
| Step | Done when | Can be skipped? |
|---|---|---|
| 1. Connect a payment provider | The store has an active connection, test or live. | No |
| 2. Create your first product | The store has an offer with its link on and a price some connection receives, or a quick link. | No |
| 3. Make the checkout yours | The store has a logo. | Yes |
| 4. Make a test purchase | A paid order comes in on a test connection. | Yes |
| 5. Turn on real charges | The store has a live connection and the card and PIX flows charge through it. | No |
| 6. Get your first sale | The first paid order comes in on a live connection. | No |
What to do in each step is in The six steps to your first sale.
Each step also has:
- How to do it: opens the article in this documentation about the step.
- Ask the Agent: opens Vipter Agent with the step's question already written. See Free questions to Vipter Agent.
- Skip: only on steps 3 and 4. A skipped step is set aside, and the Do it now button brings it back.
A step that is done but has something that will still cause trouble keeps a warning and the Fix button. For example:
- The webhook secret is missing: PIX payments will not confirm.
- Credit card still charges through the test connection.
- Physical product with no active shipping method: checkout refuses without shipping.
Collapse or hide the guide
The Guide options menu on the card has two options:
- Fold into the top bar: the card leaves the home page and the guide stays in the top bar button. To bring the card back, open the side panel and click Show on Home.
- Hide for good: the guide goes away, from the top bar too. To reopen it, click your photo at the top of the screen and choose Show the setup guide.
If the store stops having an active live connection after the first sale, the guide comes back on its own with the title Your store stopped taking payments, even if hidden. The top bar button shows Store not taking payments.
After the first real sale
On the first paid sale on a live connection, the dashboard shows the First sale! window once, with the View order and See recommendations buttons.
From then on, the home page card turns into Sell more: the next steps for your type of business, each with the priority High, Medium or Low. A course gets, for example, Members area and Installments. A physical product gets Shipping and carrier and Invoices. Invoices and installments only show for stores in Brazil.
One of the recommendations is Store profile: Website, category (MCC) and address. After network token enrollment these are locked. The website and the MCC aren't asked when you create the store. Fill them in under GeneralSettingsGeneral carefully, because after enrollment they can't change anymore.
The recommendations follow your answers in Your business. If your business changed, click Change answers on the card and answer again. To remove the card, click Hide.
The check on each link
On each offer's page, the Is this link ready to sell? card checks everything the link needs to sell. At the top, it sums up the result: how many problems stop the sale, how many warnings there are, or Ready to sell.
Each item has a level:
- Blocks sales: the link doesn't sell until this is fixed. For example, No payment provider connected, The link is turned off or The offer has no price.
- Warning: the link sells, but something will go wrong. For example, the card still charging through the test connection, which leaves buyers without a real charge, or a missing webhook secret, which stops PIX payments from confirming.
- Optional: improves the sale, but isn't required. For example, No conversion pixel connected or Checkout on Vipter's domain.
Items that need attention have the Fix button or, on the optional ones, Set up, which opens the right screen. The card shows for the Owner and the Admin, on offers that aren't archived.
Free questions to Vipter Agent
Until the store makes its first real sale, the Owner and the Admins can ask Vipter Agent about the setup without spending credits, even if the Agent isn't turned on for the store. The Agent panel shows Setup questions are free and suggests questions such as What does my store still need to start selling?
These questions use the Standard mode and have a daily limit per store. After the first real sale, the Agent only answers if it is turned on for the store, and each question uses credits.
Setup e-mails
While the store gets ready, the account owner gets a few short e-mails, at most one a day:
- One day after signing up, if the account has no store yet.
- When the plan payment was started and not completed.
- When activation failed. The Vipter team is also told.
- Two days after activation, if the store still has no provider connected.
- Three days after a test purchase, if the store still doesn't charge for real.
- Seven days after the store is ready, if the first sale hasn't come yet.
- On the first real sale.
To stop these e-mails, click Stop these e-mails at the end of any of them and confirm with Stop the e-mails. Billing and security notices keep coming.
What to do next
- Follow the six steps to your first sale.
- Test the store before sharing the link.